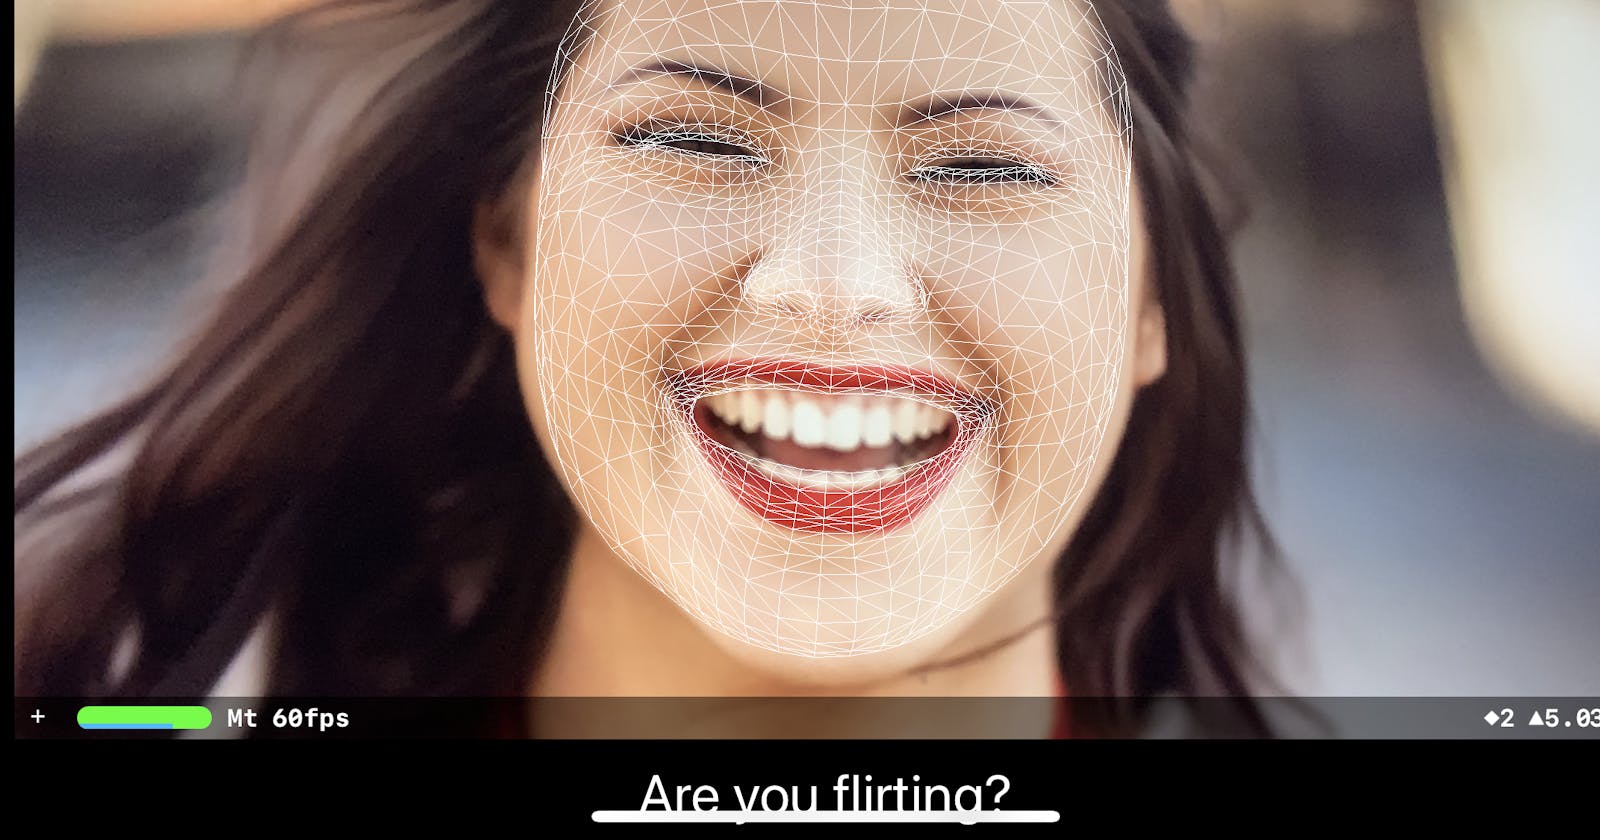
How to Create an AR Face Project on iOS
Creating the app can use the camera to recognize your facial expression by AR
Introduction
This Tutorial is for people who already know how to develop App on Xcode but didn’t try to create an AR app. Here is the whole project on Github. The app can use the camera to recognize your facial expression by AR.

Create Project
The first step is to create the project. We going to choose the template of the “App”.

- Layout 2 elements to the position you like. The picture below is my layout style.
 Set your “Info.plist”
Add permission for using devices’ camera
Add row “Privacy — Camera Usage Description” on “Info.plist”

Set your ViewContoller
Import 2 kits which are “SceneKit” and “ARKit” and import protocol “ARSCNViewDelegate” like the picture below. et your ViewContoller
 - Link 2 element you just created to “ViewContoller.swift”, and create a variable called “action” for sending the text to “label”

- Set “ViewDidLoad”
Active your “sceneView” and Check your device if it supports AR Camera

- Set “viewWillAppear” and “viewWillDisappear”.
“viewWillAppear” is place to let you code something before render/refresh screen. In here, I set up the AR Face config and active the “sceneView”.
In “viewWillDisappear”, it leaves a action to stop your “sceneView”. But we haven’t other screen, there is extra code for the further function.

- Set “renderer”
“renderer” is part of the “ARSCNViewDelegate”. Basically, “renderer” is for get the information by “ARSCNViewDelegate” like recognizing facial expressions.

- Set “expression”
this function is for the management of what text will show on the “label”. If you want to customize your action, you could read the docs about “ARFaceAnchor”
 Congrats!!! Try to RUN it! 🎉🎉🎉🤞🤞🤞
If you got errors, you could check my “ ViewController.swift ”.
Naipie is a beginner in Swift. I hope to write down what I have learned to help me understand or help other learners. If there are mistakes and different opinions, please point them out in the comments.

